
When creating a SOLIDWORKS task pane, the SOLIDWORKS API documentation says that icon transparency can be handled by using a specific background color.
For CreateTaskpaneView3, the documentation explains that task pane bitmap images should use a 256-color palette, and that the transparent area should use the following color:
RGB(192, 192, 192)The expectation is simple: wherever the icon uses that gray color, SOLIDWORKS should treat it as transparent. In practice, that does not always work. You may create the icon exactly as described, use the correct gray background color, and still see a gray box behind the icon inside SOLIDWORKS.
The documentation suggests that this gray color should be treated as transparent. However, when the task pane loads, SOLIDWORKS may still display the gray background. This can make the task pane icon look unfinished or inconsistent with the rest of the SOLIDWORKS interface. This usually means the image background was not actually transparent. It was only colored gray, and SOLIDWORKS did not remove it during rendering.
The Solution:
I have not been able to verify this for older version of SOLIDWORKS. Instead of depending on SOLIDWORKS to interpret RGB(192, 192, 192) as transparent, remove the background from the image and save it as a PNG with real transparency. This gives SOLIDWORKS a cleaner image to work with and avoids the visible gray background issue.
Use an image editor that supports real PNG transparency and layers. I highly suggest good old mspaint.exe. This works great if you are on Windows 11 with the AI-enabled MSPaint.
The general process is:
- Open the icon.
- Select the entire image.
- Use Magic Erase to remove the selected background color.
- Open the Layers panel:
- Select the bottom icon layer.
- Right-click the bottom background layer:
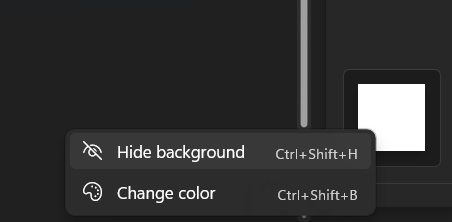
- Choose Hide Background. You will get something similar this:
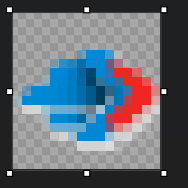
- Save the file as a PNG.
After saving, the background should be truly transparent instead of just colored gray in SOLIDWORKS.
